Placing & Moving Objects
Add Objects From The Library Menu
Left-click on any item in the Library Menu to add it to your selection. Once selected, the object will follow your cursor.
Left-click anywhere on the tiny house ground for Cabinets or walls for Electrical Objects to place the object.
Select Objects
Use your mouse to hover over any object in the scene to show the yellow "Highlight" outline. The "Highlight" outline shows which object you are hovering over.
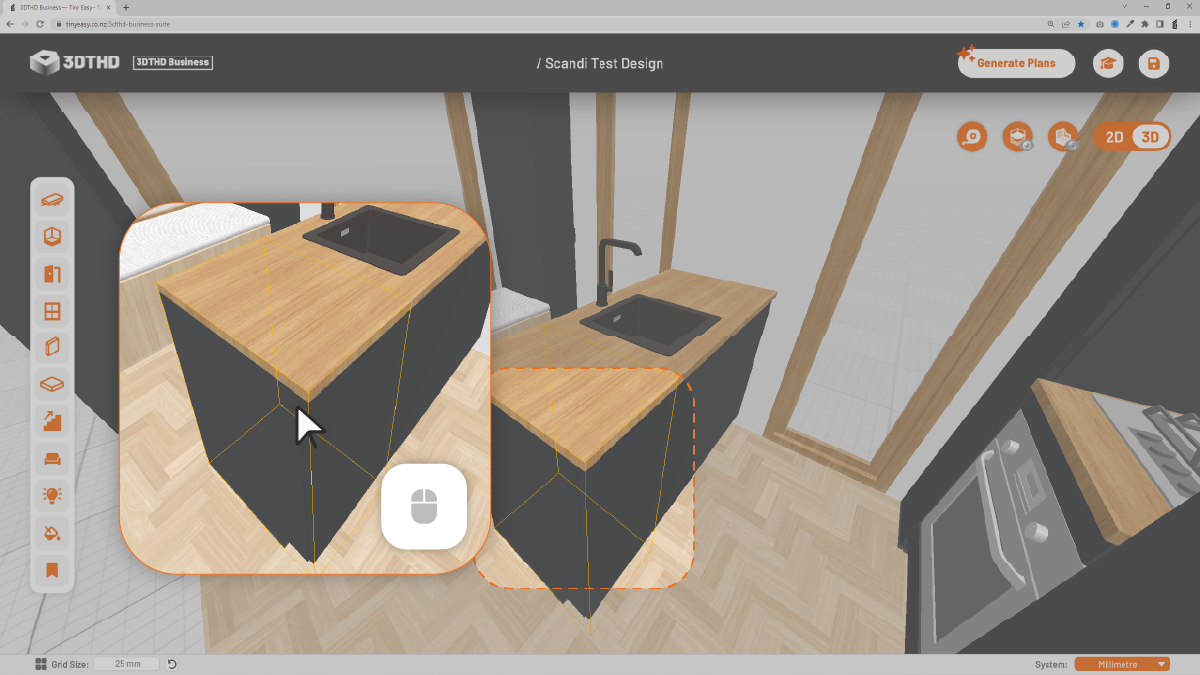
Left-click on the object you're hovering over to select it. The "Highlight" outline will turn orange to confirm that you selected the object.
The Gizmo will appear under the object you just selected.
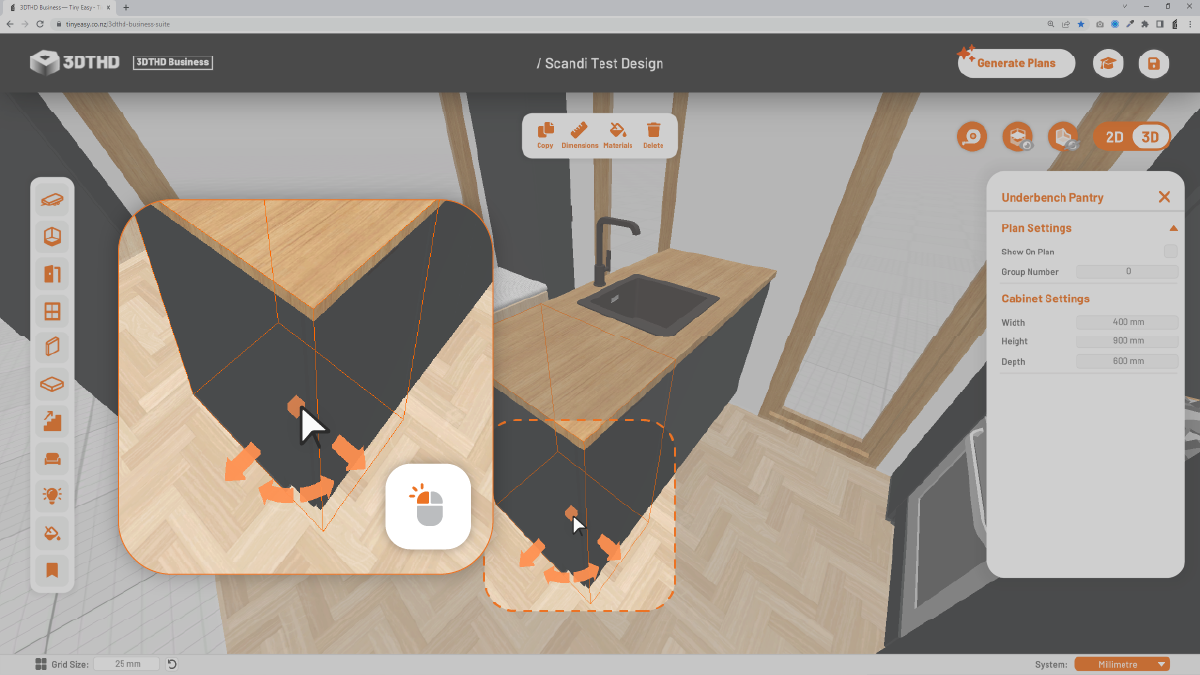
Gizmo
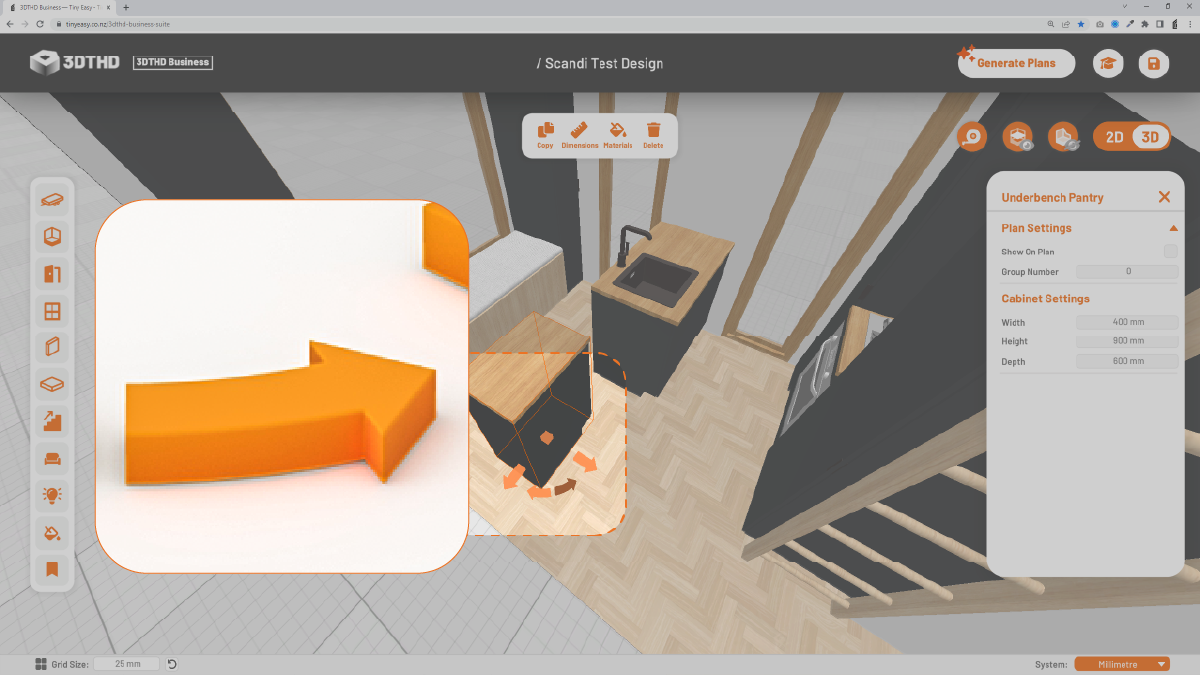
When you select any item; the move Gizmo appears underneath the object you selected.
The Gizmo is made up of 2 direction arrows and a "free move" box.

To use Gizmo:
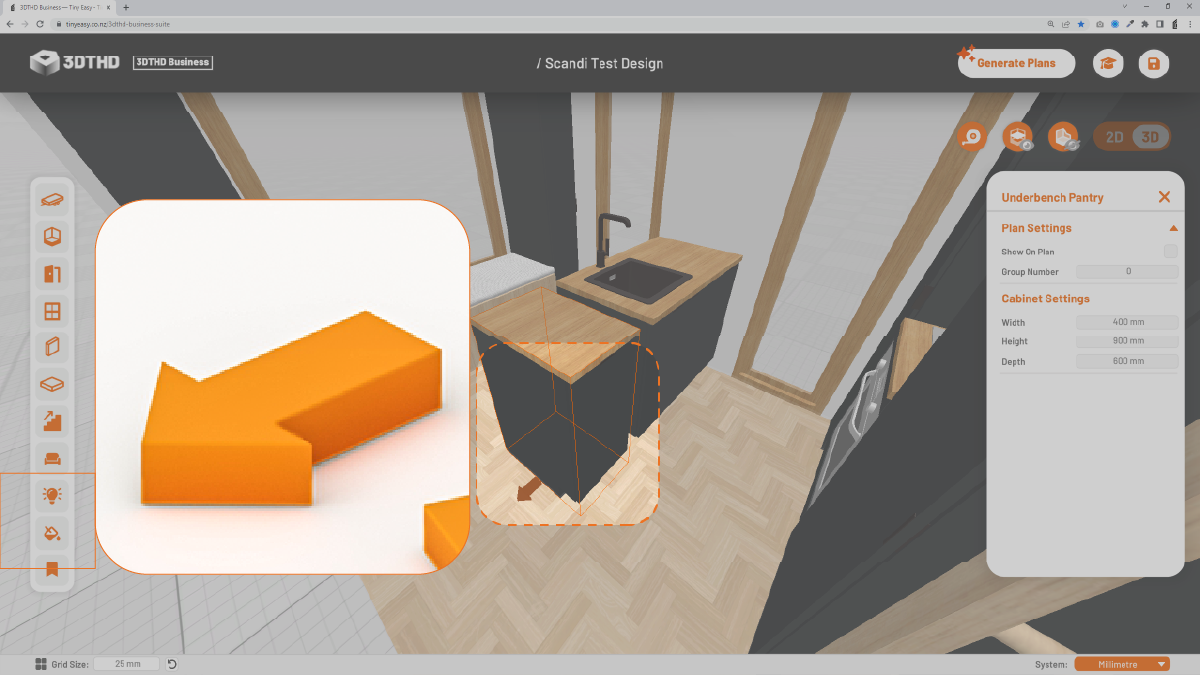
- Left-click and hold your mouse over an arrow to drag the object on an axis.
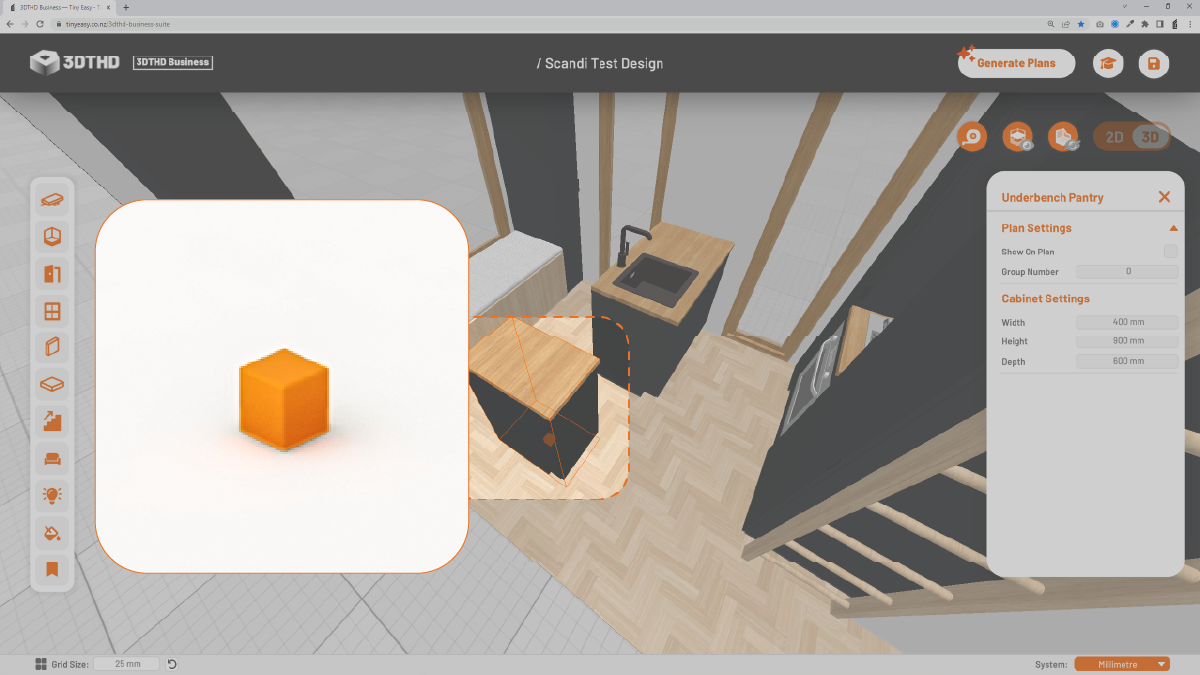
- Left-click and hold your mouse over the "free move" box to move the object on any axis.
- Left-click on a curved "rotation" arrow once to rotate the object by 90 degrees.
While you are moving an object, you can press R on your keyboard to Rotate the moving object by 90 degrees clockwise. This is a quick timesaver!
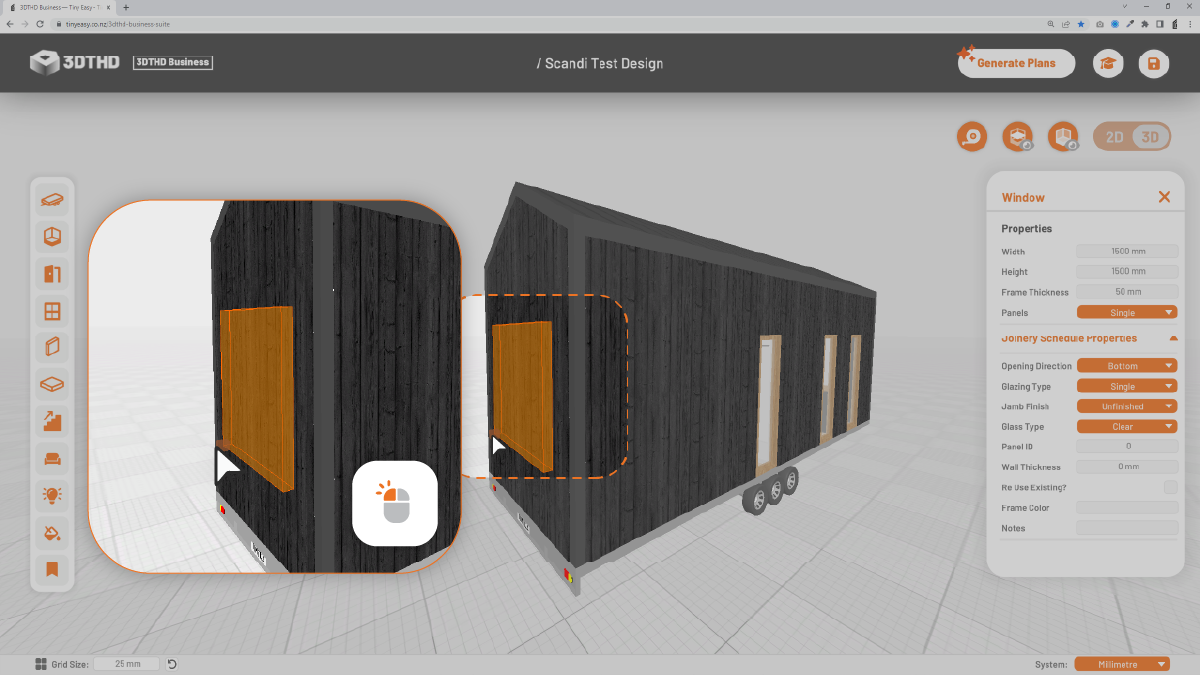
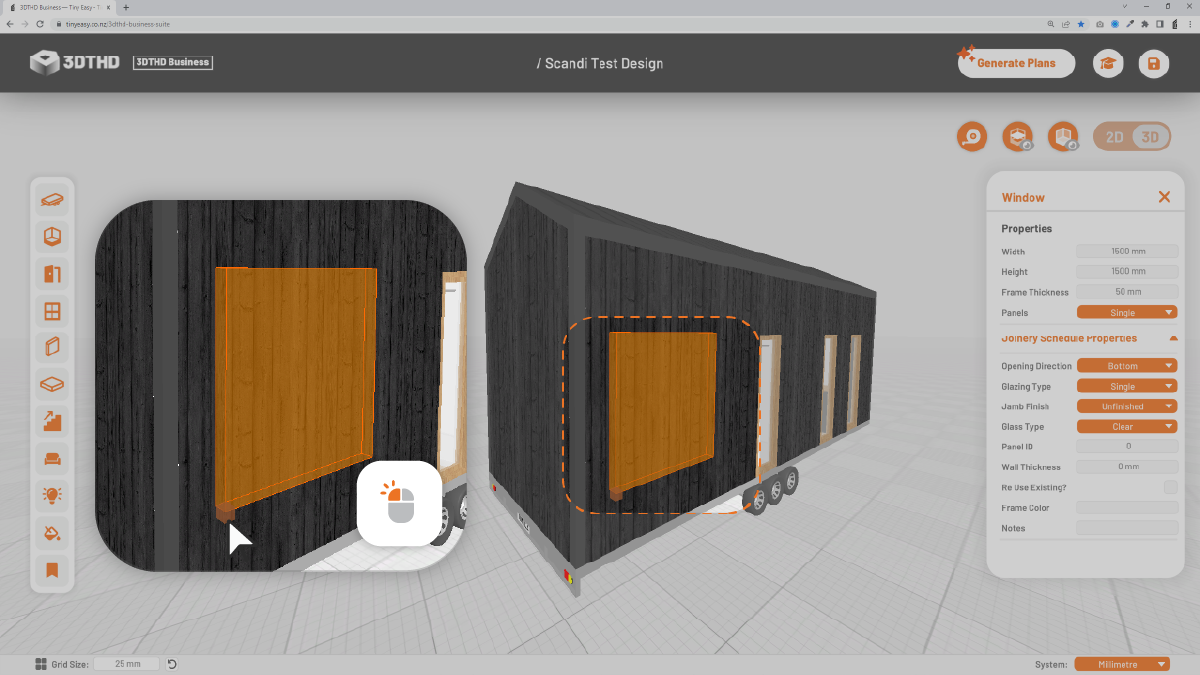
Move Windows & Doors to another wall
Click and hold the free move box and hover over the wall you want to drop the Window or Door on. This way you can move windows from one wall to another.
Modifier Buttons
Once you select an object, the modifier buttons pop up at the top center of your screen.
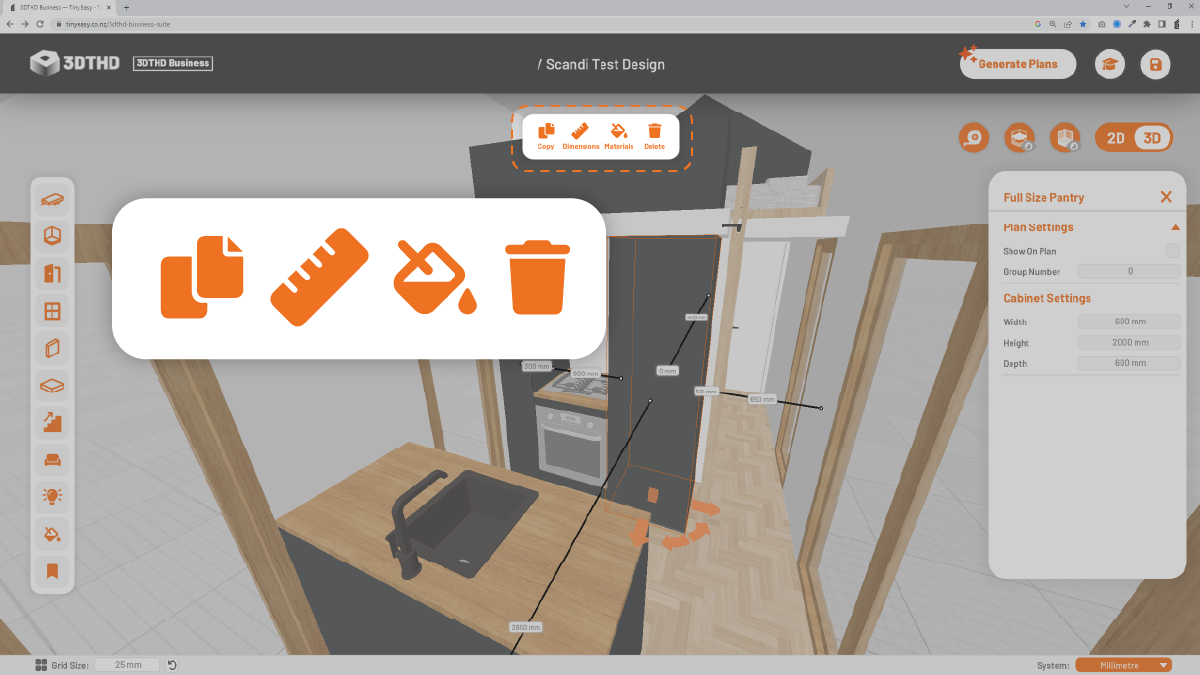
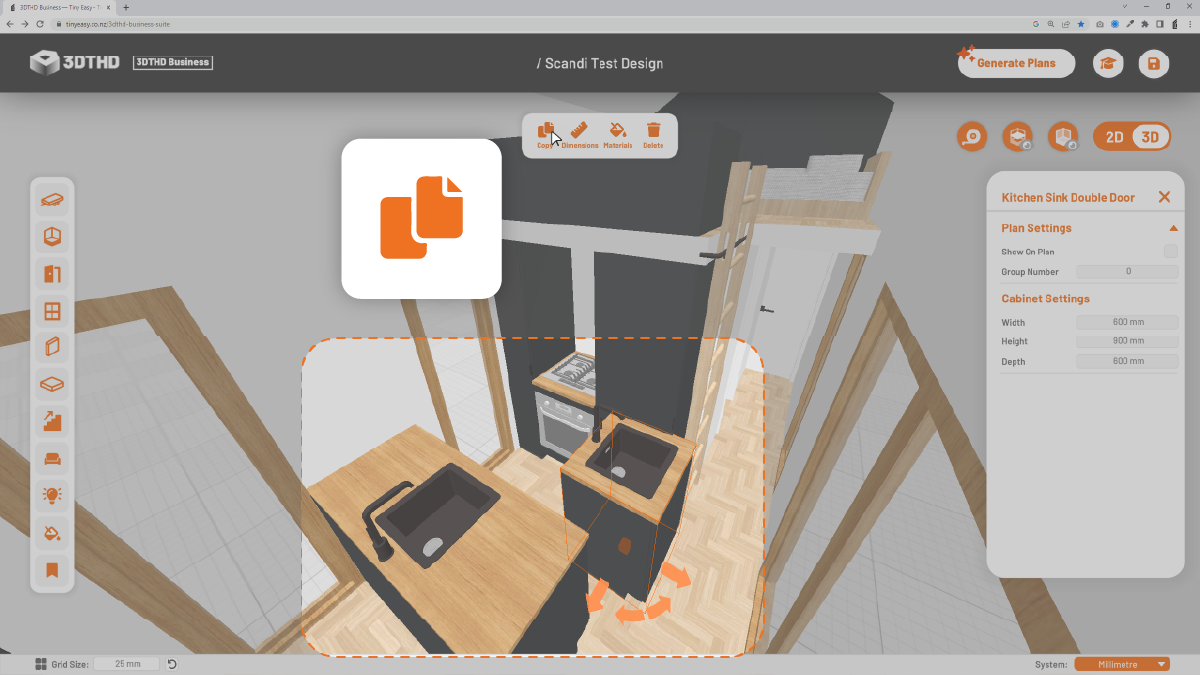
Copy Button
This allows you to duplicate/copy an object that you've placed or modified, which will copy the styling and settings over so you don't have to repeat yourself.
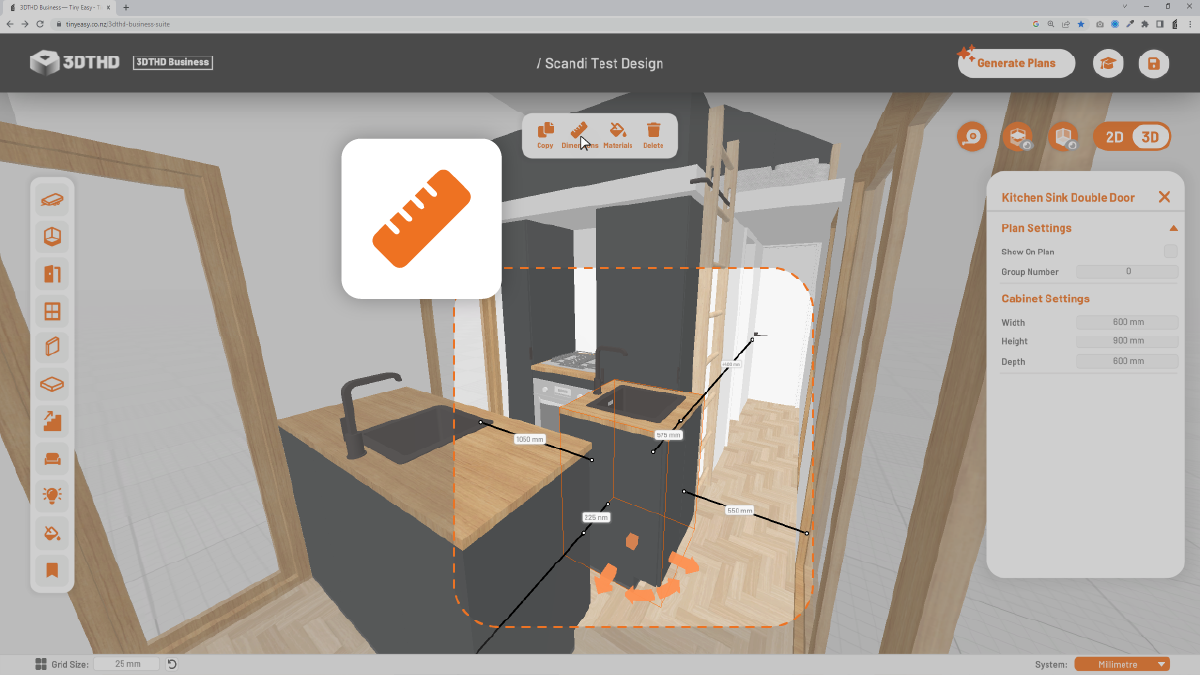
Toggle Dimension Move Tool
Turns on the Dimension Move Tool on/off (more on this tool below). This is handy if you quickly want to place objects and don't want the dimensions in the way, while you're designing.
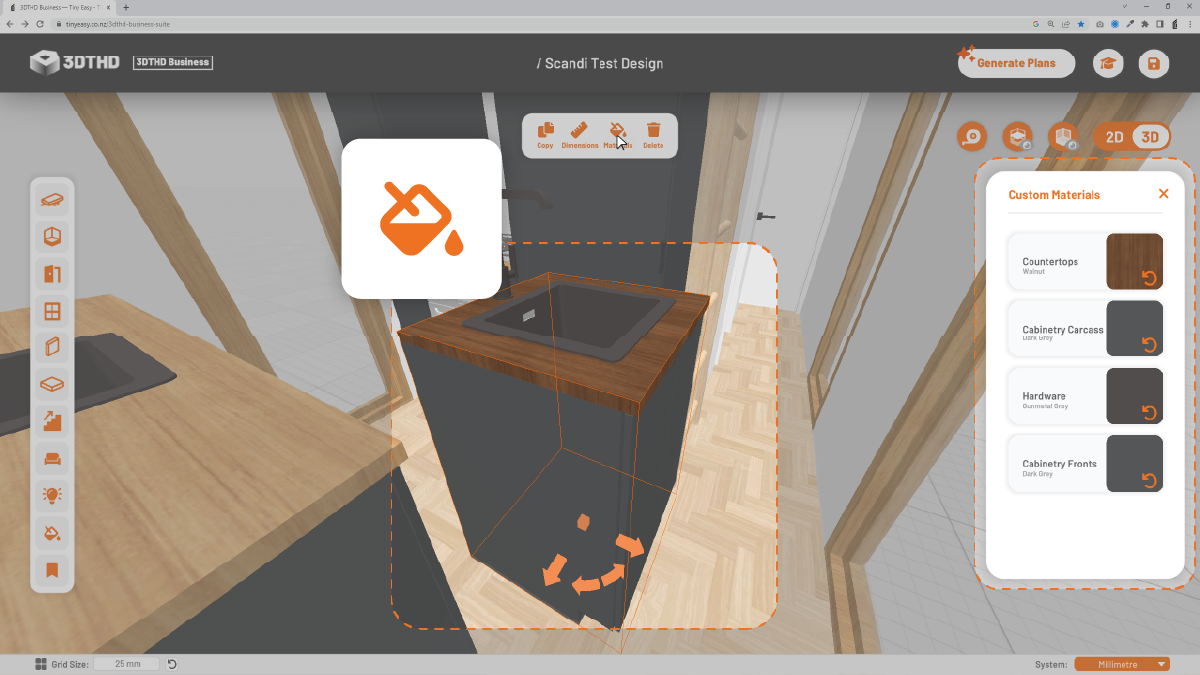
Materials Button
This tool allows you to modify the material on a selected object. For example, if you want to customize the look of your kitchen cabinetry, but you only want one material to change, you can use this tool. More on this in the Materials Section. :)
Delete Button
This allows you to delete an object. There is currently no undo function yet, so make sure to double check which item you want to delete.

Dimension Move Tool
The Dimension Move Tool shows you the distance between the object and the closest neighbouring objects.
This is great to use for placing objects next to each other accurately.
- Click into the text boxes on either side to enter the accurate distance.
- Press enter on your keyboard and it will automatically move your object to the distance you have entered.
Here's an example:
The distance between the selected cabinet and the cabinet to the right of it is 150mm.

To make sure the cabinet directly aligns with the cabinet next to it; type 0.
This moves the selected cabinet 0mm away from the adjoining cabinet.
This tool is specifically useful when you're looking to make accurate object placements. That way you avoid random measurements in between cabinets and objects.
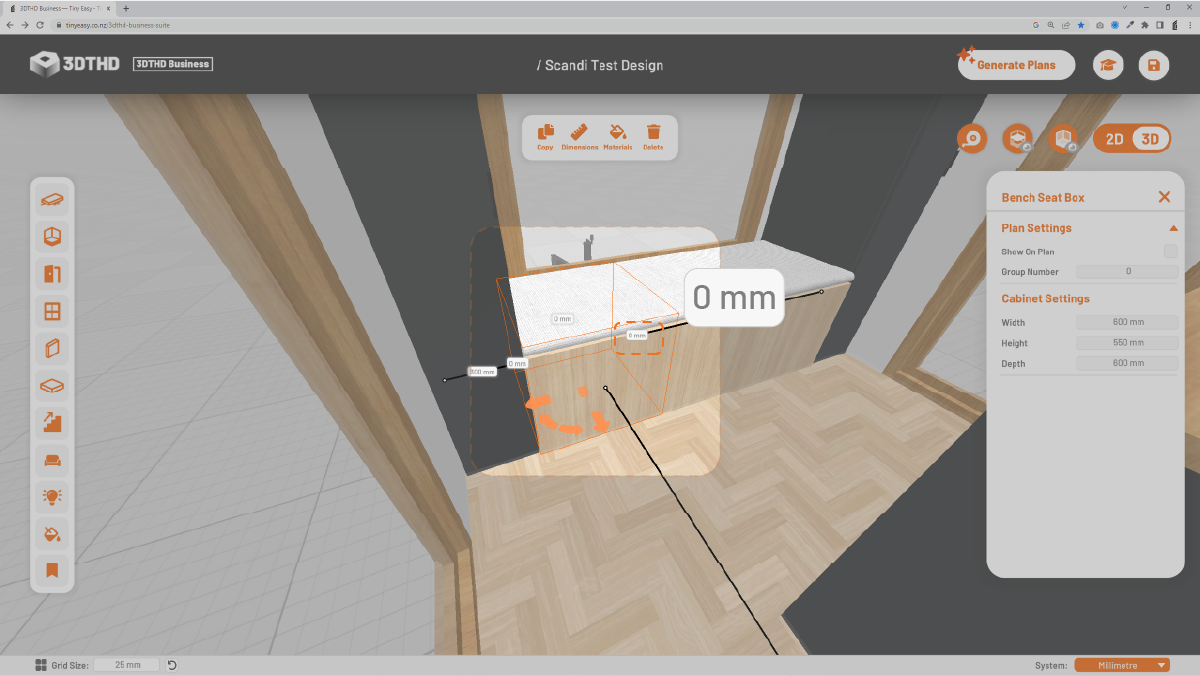
Dimension Move Tool on Exterior Walls
When placing an object on the exterior walls, e.g. a Window or Door, the Dimension Move Tool shows that distance to the nearest point it can find.
Usually this is the perpendicular interior wall adjoining the wall the object is on.
This leaves a small gap between the Dimension call-out and the edge of the tiny house.
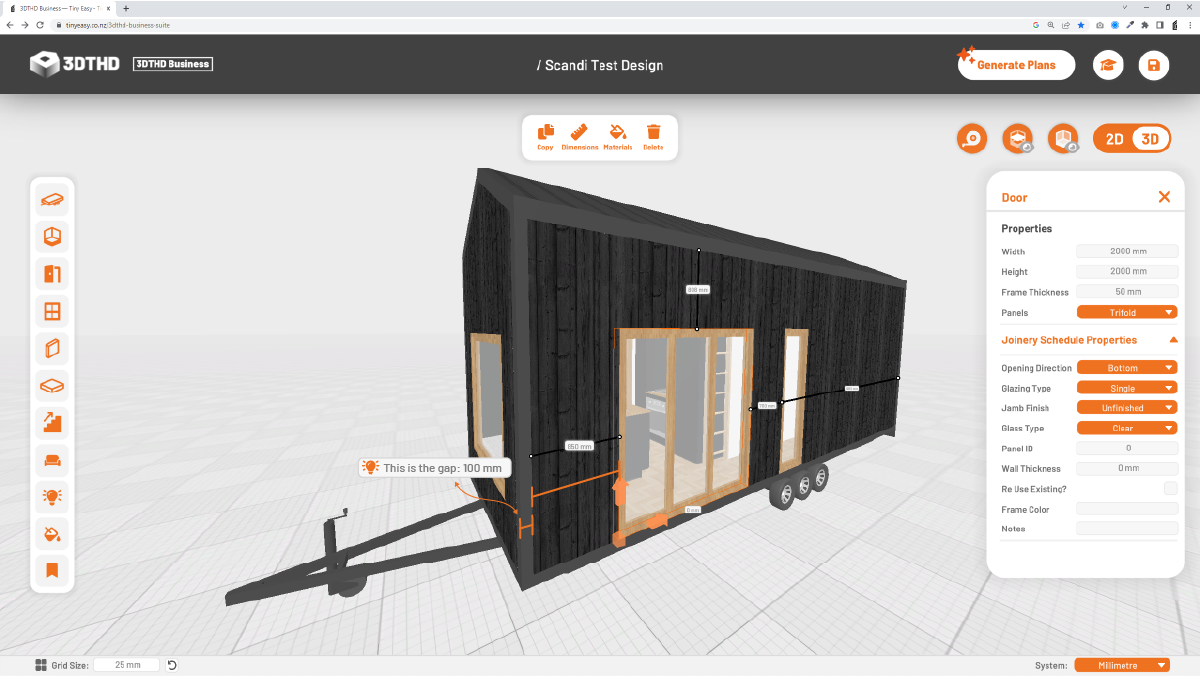
We know the Wall Thickness from when we specified the Shell.
In this case it is 100mm. So the Door is 850mm away from the gap so over we know the door is 950mm away from the edge of the tiny house.