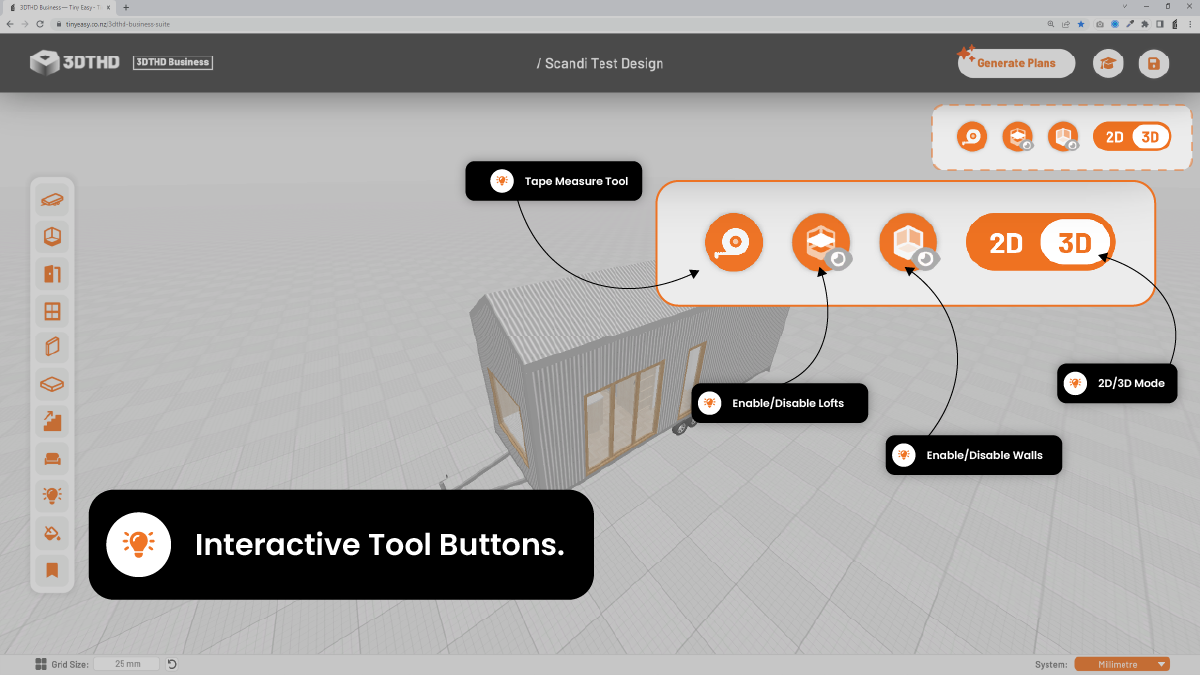
Interactive Tool Buttons
Let's get into the interactive tool buttons. These buttons will help you edit your tiny house by disabling and enabling features.
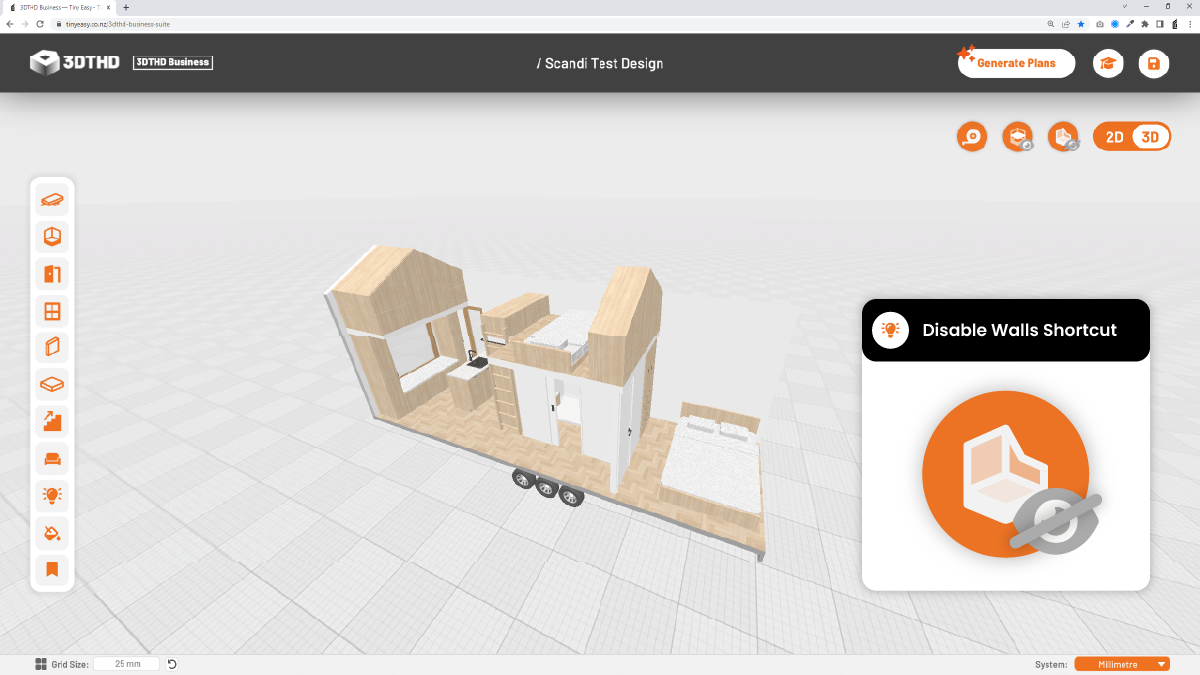
Wall Toggle Button
The Wall Toggle Button enables and disables the exterior shell of your tiny house model.
This makes it easier to edit the interior.
In other design software, you would have to create manual layers to achieve this. In the designer it's all automatic so it saves a whole heap of time.

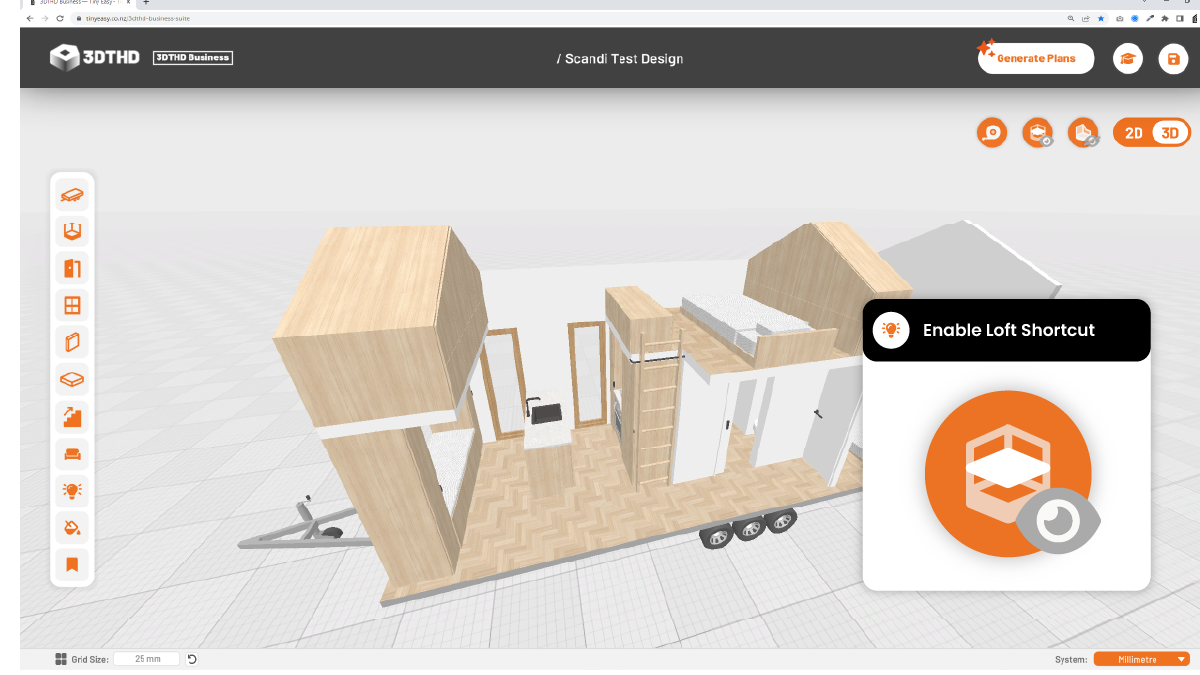
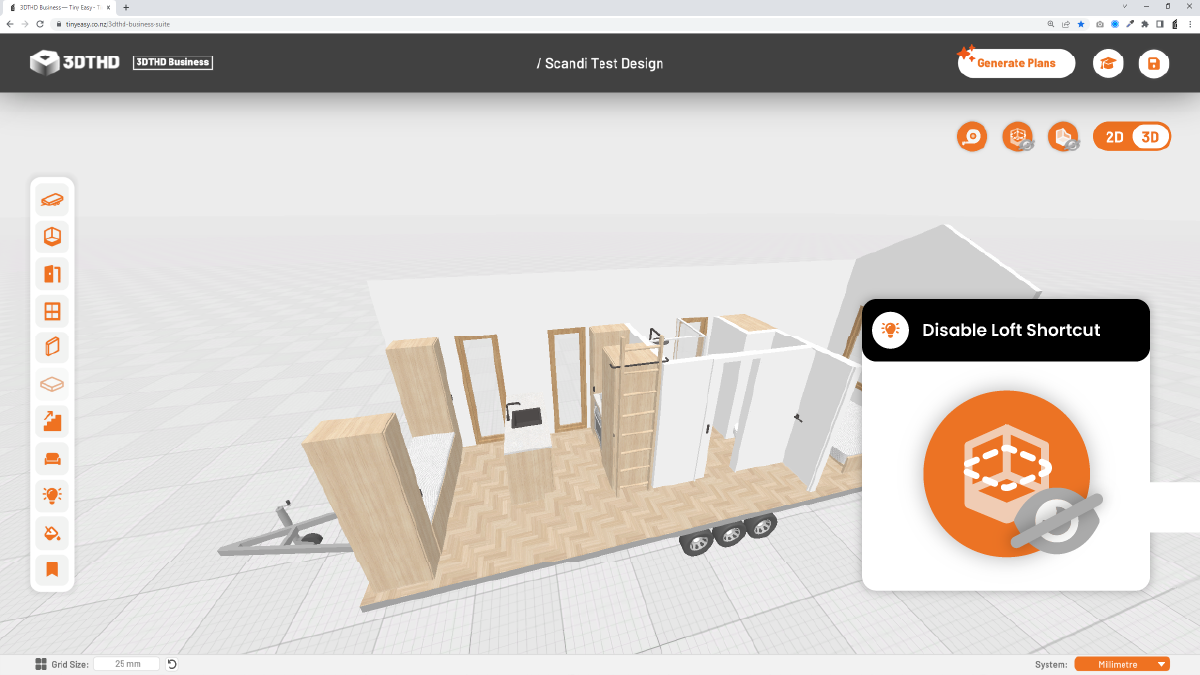
Loft Toggle Button
The Loft Toggle Button enables and disables the loft; allowing you to easily design on the ground floor or mezzanine without objects obstructing your view.
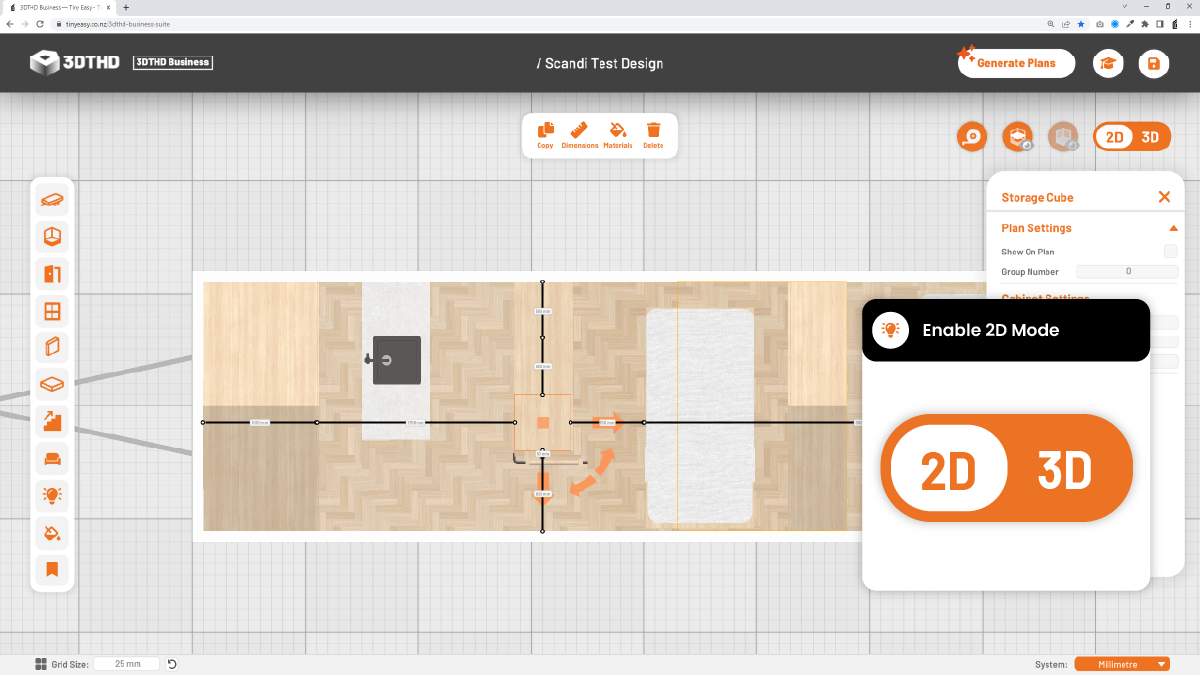
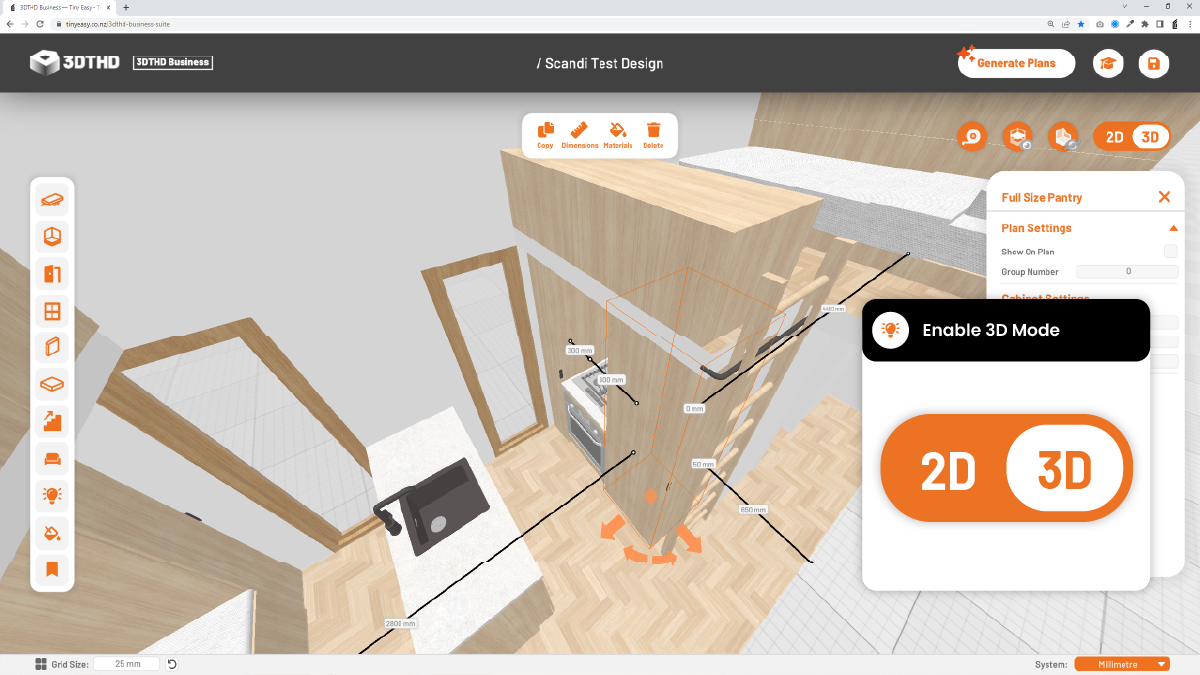
2D/3D Toggle Button
The 2D/3D Button allows you to switch between Plan/2D and 3D mode.
To use this button, simply click the 2D to switch to 2D mode, vice versa.
Click the Loft Toggle Button to switch between Ground Floor and Mezzanine view.
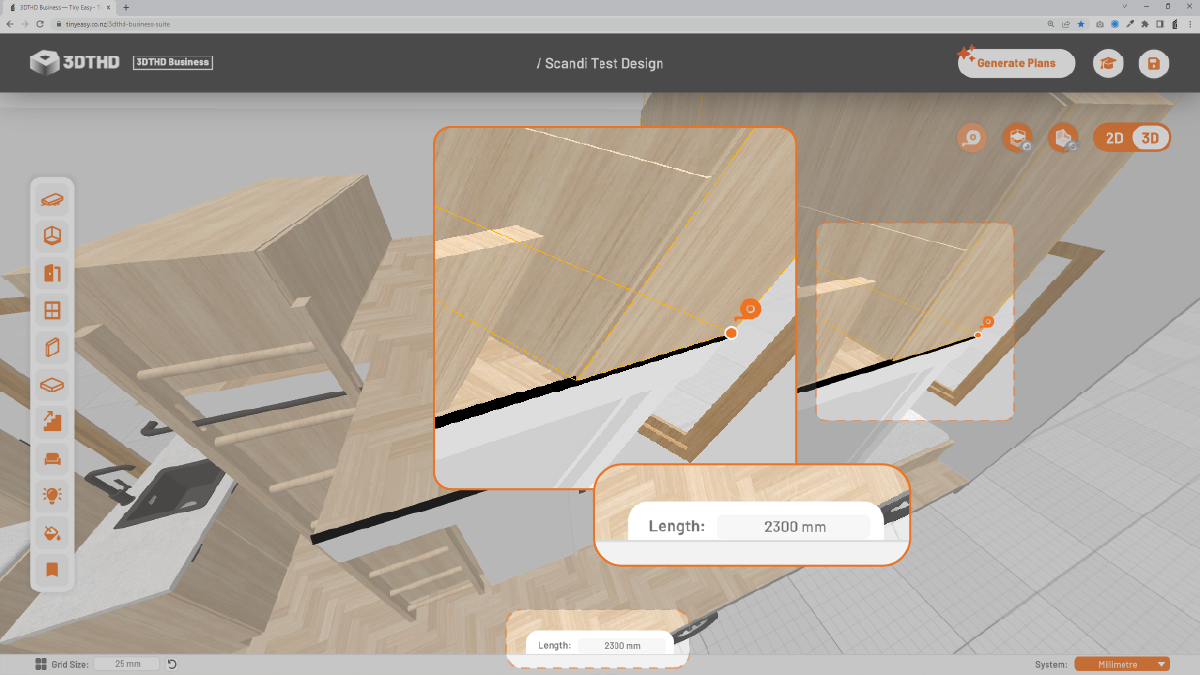
Tape Measure Button
Toggle the Tape Measure tool to measure the size of objects and distances between them. The tape measure snaps to faces and corners/bounding boxes of items, similar to Sketchup.
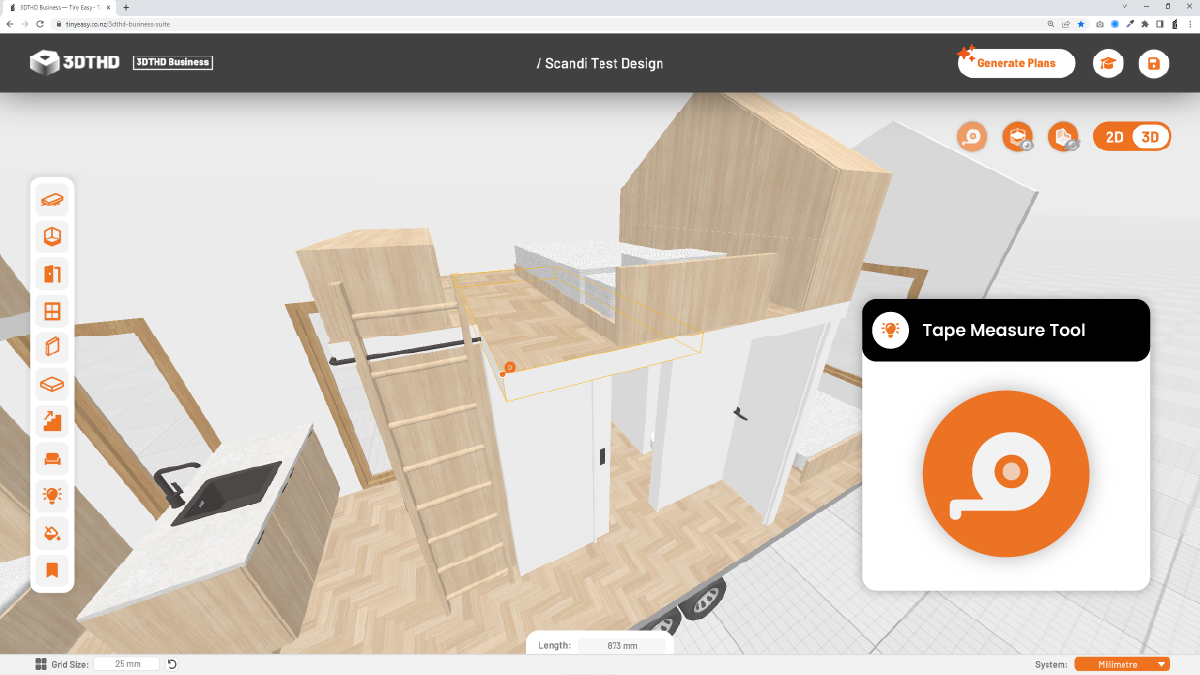
Hotkey: Click T on the keyboard. (Shortcut for the tape measure tool).
To use the Tape Measure tool:
- Hover any point and left-click anywhere to start measurement.
- Hover over corners to snap to the corners
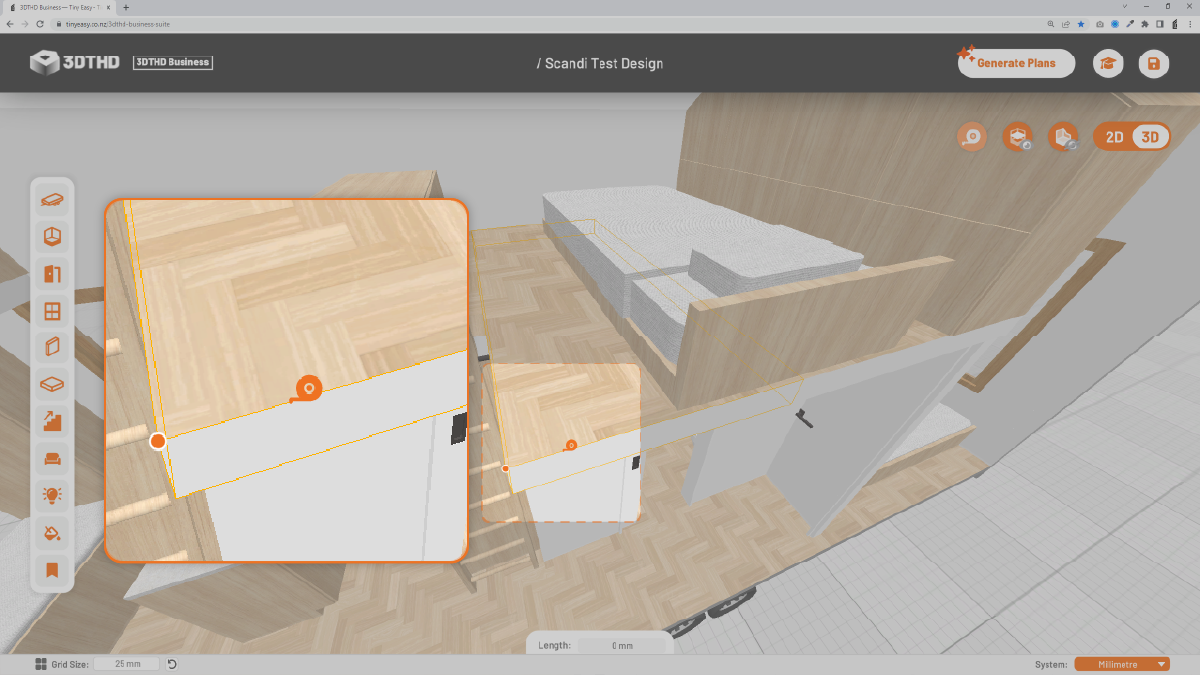
Hover anywhere to show the current distance in the window at the bottom middle of your screen.
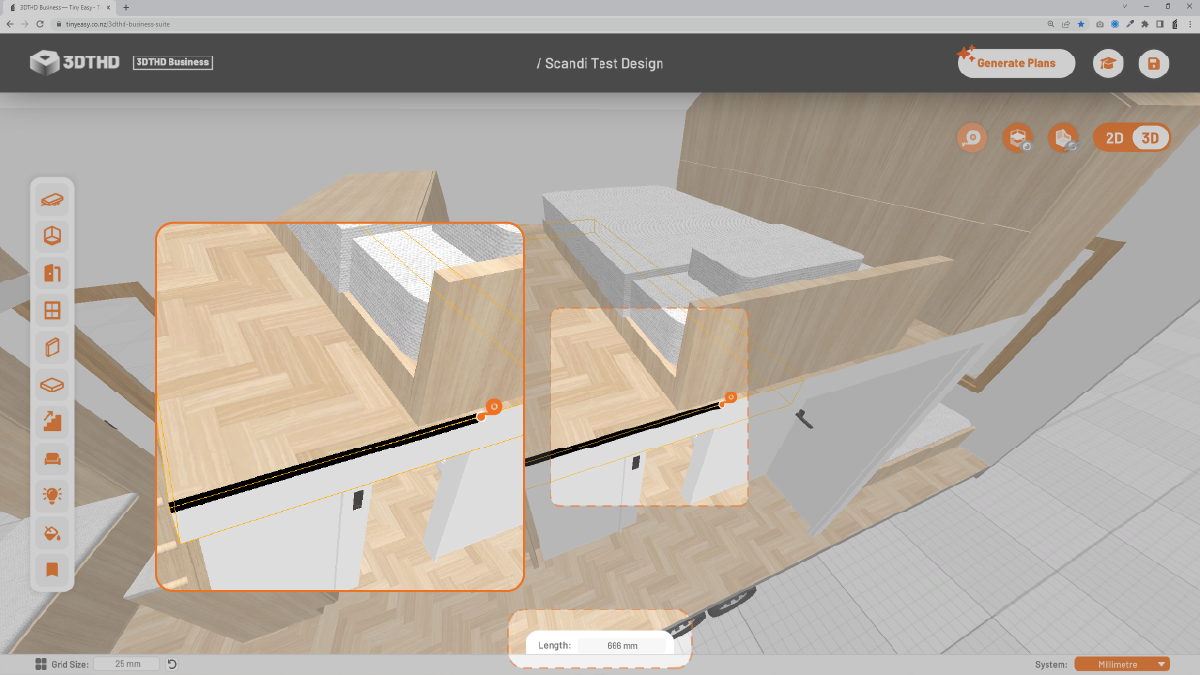
Left-click on another point to finish the measurement. The final measurement is shown in the bottom middle section of your screen.
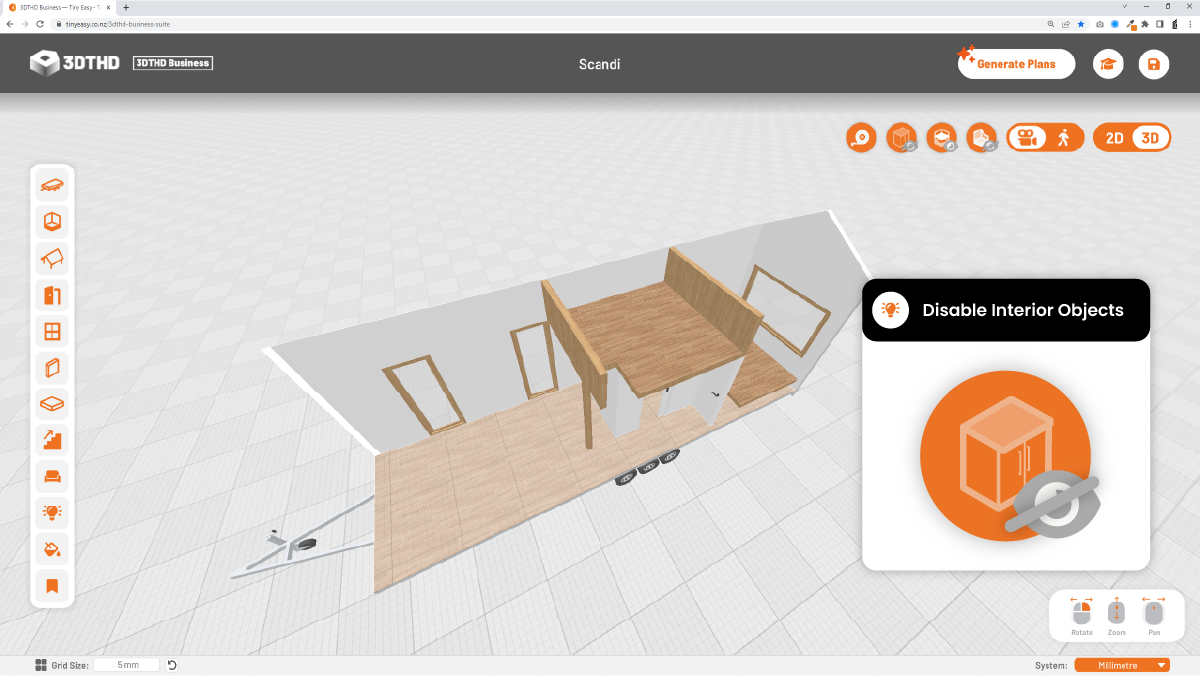
Enable & Disable Interior Objects 🌟NEW🌟
19/04/23
We're excited to announce a new addition to the Interactive tool buttons that will revolutionize your tiny house design experience. With our latest feature, you can now easily enable and disable all interior items with a simple click, allowing you to focus on one section at a time without any obstructions.
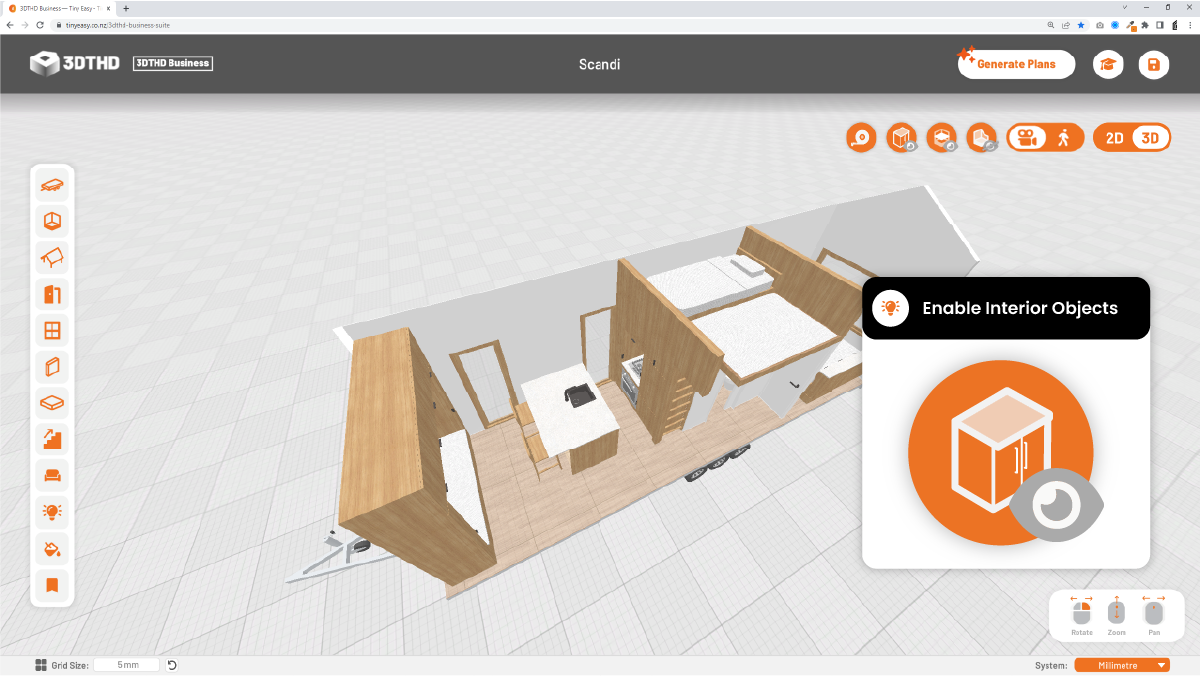
This features is excellent to improve your workflow in a variety of scenarios:
Place Electrical Items - When all the cabinetry and furniture is active, it can often get in the way when you're trying to place electrical items. Disabling the furniture items allows you to move freely without any obstructions and place sockets behind appliances.
Confined Spaces - In confined spaces such as the bathroom, where objects tend to get in the way, disabling interior items can be a lifesaver.
Refine the Shell & Wall Placement - If you're refining your shell and wall placement, disabling interior objects will enable you to select and move the walls, doors, and windows without worrying about hovering over other objects.